

Docker is an open platform for developing, shipping, and running applications with containers that enables you to separate your applications from your infrastructure. Docker provides the ability to package and run an application in a loosely isolated environment called a container.
The container provides a standardized environment for development. This means that we can distribute our ROS packages along with a known environment to ensure that it runs reliably on other platforms.
A Docker image is a read-only template with instructions for creating a Docker container. These can be further customized from a base image. The image is created from a Dockerfile which contains the steps necessary to create and run the image.
A container is a runnable instance of an image. A container is defined by its image as well as any configuration options you provide to it when you create or start it.
Installing Docker
Installation instructions for Docker can be found in the Docker documentation. Optionally, users can install Docker on a Linux Ubuntu platform using the provided install-docker.sh script. This script can be executed with the following commands:
$ ./install-docker.sh
You can verify your Docker installation by checking the version:
$ docker --version
Creating a Docker Container
The Dockerfile is the primary component required to create the Docker container. This file contains the steps necessary to create the image. For the ouster_example package, we can use the provided Dockerfile.
The Dockerfile first pulls in the ROS Melodic image with the perception stack packages installed.
FROM ros:melodic-perception-bionic
The Dockerfile also uses the RUN command to install some basic dependencies on top of the base image.
Next, the Dockerfile copies the scripts directory form the ouster_example package. This directory contains additional scripts that are executed to configure the ROS environment and install the ouster_example package in the image.
ADD /scripts /scripts
Lastly, the Dockerfile executes the first script in the install directory, install_scripts_for_docker.bash.
RUN bash /scripts/install_scripts_for_docker.bash
The identify_environment.bash file is also provided which sets the UBUNTU_CODENAME, ROS_DISTRO, REPO_DIR, CATKIN_DIR environment variables.
The scripts directory contains the following primary scripts:
create_catkin_workspace.bashinstall_ros_dependencies.bashinstall_ouster_example_fork.bash
The create_catkin_workspace.bash file is executed first. This creates and sets up the catkin workspace.
Next, additional ROS dependencies such as RVIZ and Gazebo are installed by the install_ros_dependencies.bash script.
Once the dependencies are installed, the ouster_example package is cloned and built by the install_ouster_example_fork.bash file. This file also downloads sample ROS data provided by Ouster to the ~/bags directory in the Docker container.
Running the Docker Container
Once the Dockerfile is defined, the image can be built with the `docker build` command. This creates the Docker image on the local machine.
$ docker build -t ouster_example_ros .
The resulting image can be seen with the docker images command.
Once the image is built, we can launch the container with the docker run command.
$ docker run -it --name ouster ouster_example_ros bash
This starts an interactive bash shell in the container once it is initialized.
Once the container is loaded, we can run the ouster_example applications. For example, we can test the ouster_ros client by replaying and visualizing data:
$ roslaunch ouster_ros os1.launch replay:=true viz:=true image:=true
$ rosbag play --clock /root/bags/2018-08-29-16-46-17_0.bag
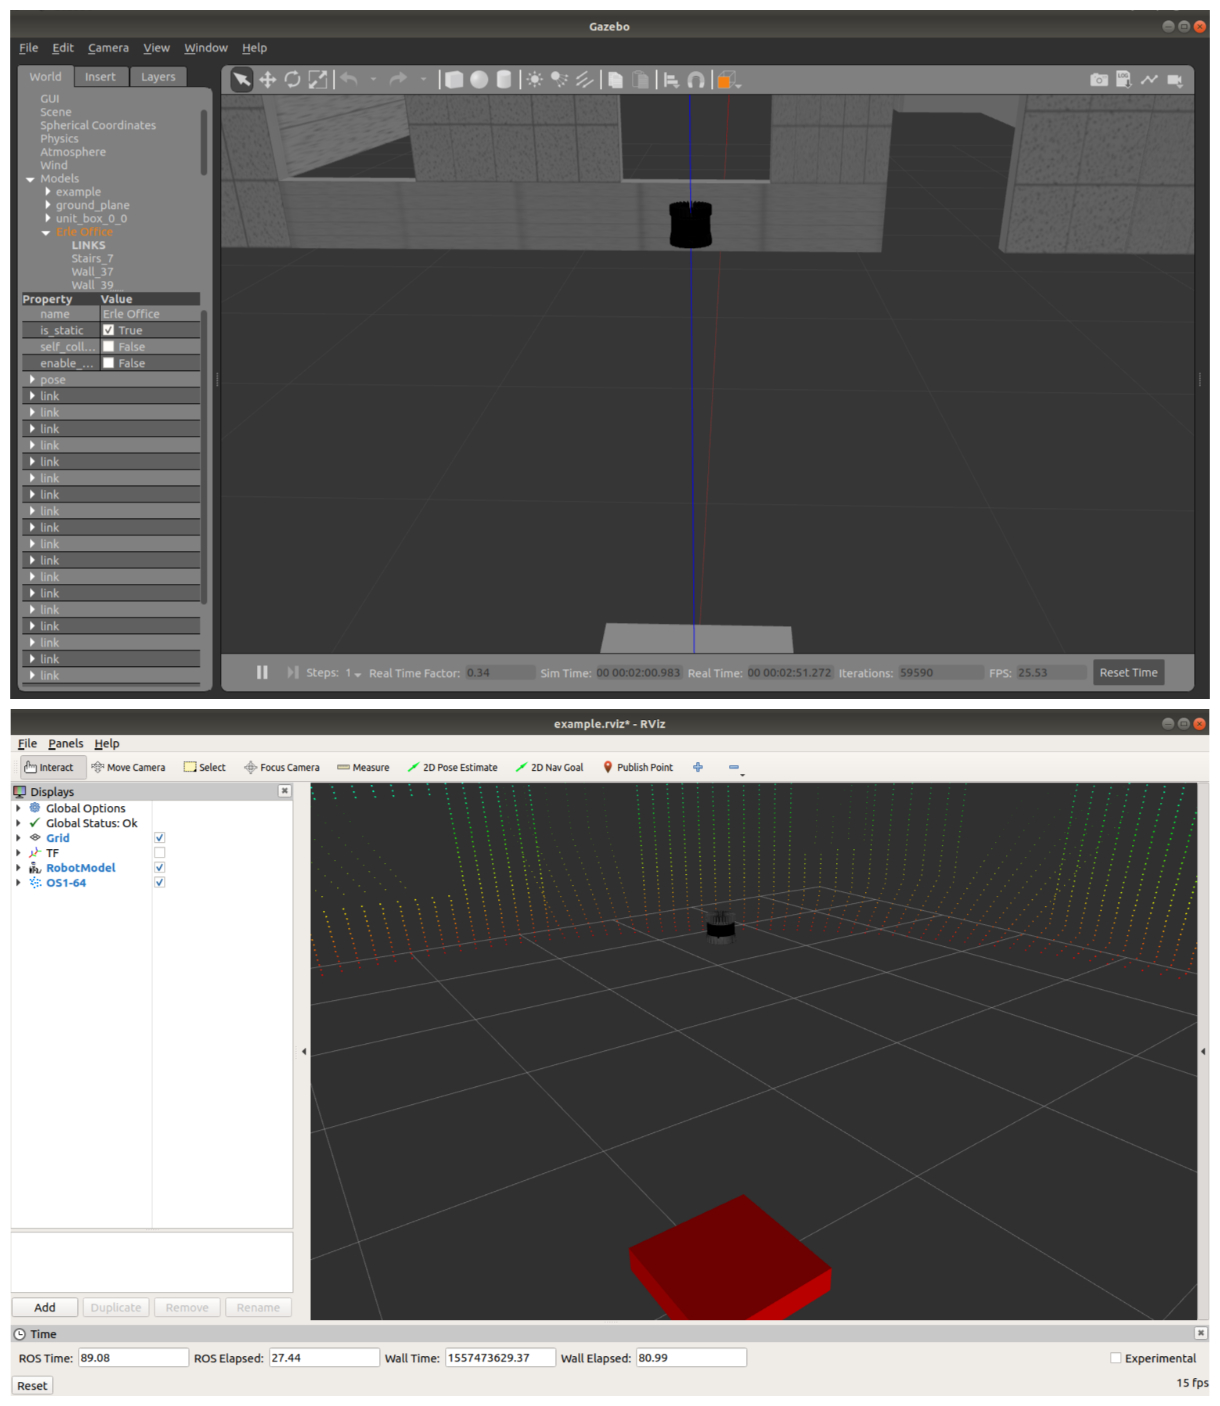
We can also run the OS-1 Gazebo simulation described in the post, “Ouster OS-1 ROS Gazebo Simulation in MCity and Citysim
.”
Execute the command:
$ roslaunch ouster_description os1_world.launch
This will open Gazebo and RViz as shown below:

Integration with DockerHub
Docker also provides the Docker Hub service which allows users to find and share Docker images. Detailed instructions for creating a Docker Hub account can be found in their documentation.
Docker Hub allows users to manually push new images to Docker Hub repositories from their local workstation. Alternatively, Docker Hub can automatically build images from source code in an external repository and automatically push the built image to your Docker repositories. This is called an autobuild.
The wilselby/ouster_example repository is set up as an autobuild. Whenever the github repository is updated, a webhook triggers a new build which produces a Docker image. The built image is then pushed to the Docker Hub registry. Below is a screenshot of the Dockerhub dashboard for the ouster_example repository:


Instead of building the image locally on your computer prior to running the container, it’s also possible to pull the latest image from Docker Hub. The run-docker.sh is provided which pulls the latest image and runs the container via the script. Running the run-docker.sh script pulls the latest Docker container and runs it:
$ ./run_docker
Once inside the container, all available launch files can be executed. For example, we can run the os1_world.launch launch file to open up a simulation of the OS-1-64 lidar sensor.
$ roslaunch ouster_description os1_world.launch
It’s also possible to display badges containing the number of Docker pulls and stars associated with the repository. The following lines in the README.md file pulls information from Dockerhub and visualize the data as badges.
[](https://hub.docker.com/r/wilselby/ouster_example/)
The badge is shown in the Readme below:
